Adding and managing schedule locations
Managing schedule locations
Section titled “Managing schedule locations”You can manage schedule locations from the Schedule Locations page.
- Go to the Settings page. If you’re using a mobile device, you may need to access this page by first tapping (menu).
- Tap Schedule Locations.
Schedule Locations
Adding a schedule location
Section titled “Adding a schedule location”Create a schedule location for each site where scheduled events will take place.
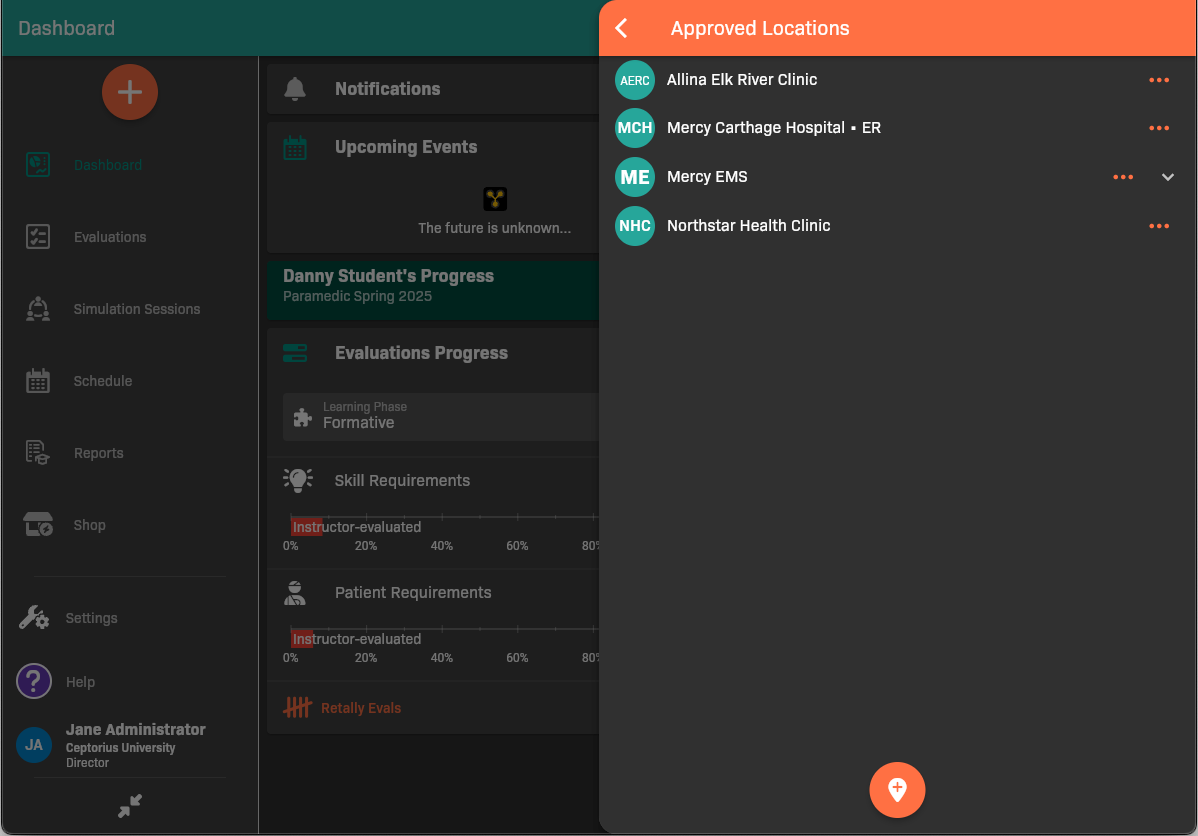
- From the Schedule Locations page, tap .
Schedule Locations
- Search for the location that you want to add.
- If you found your location, select it. The location is now approved for scheduled events.
- If you didn’t find your location, create a new one.
Create a new location
Section titled “Create a new location”If you didn’t find the location you need to add, you need to add it manually.
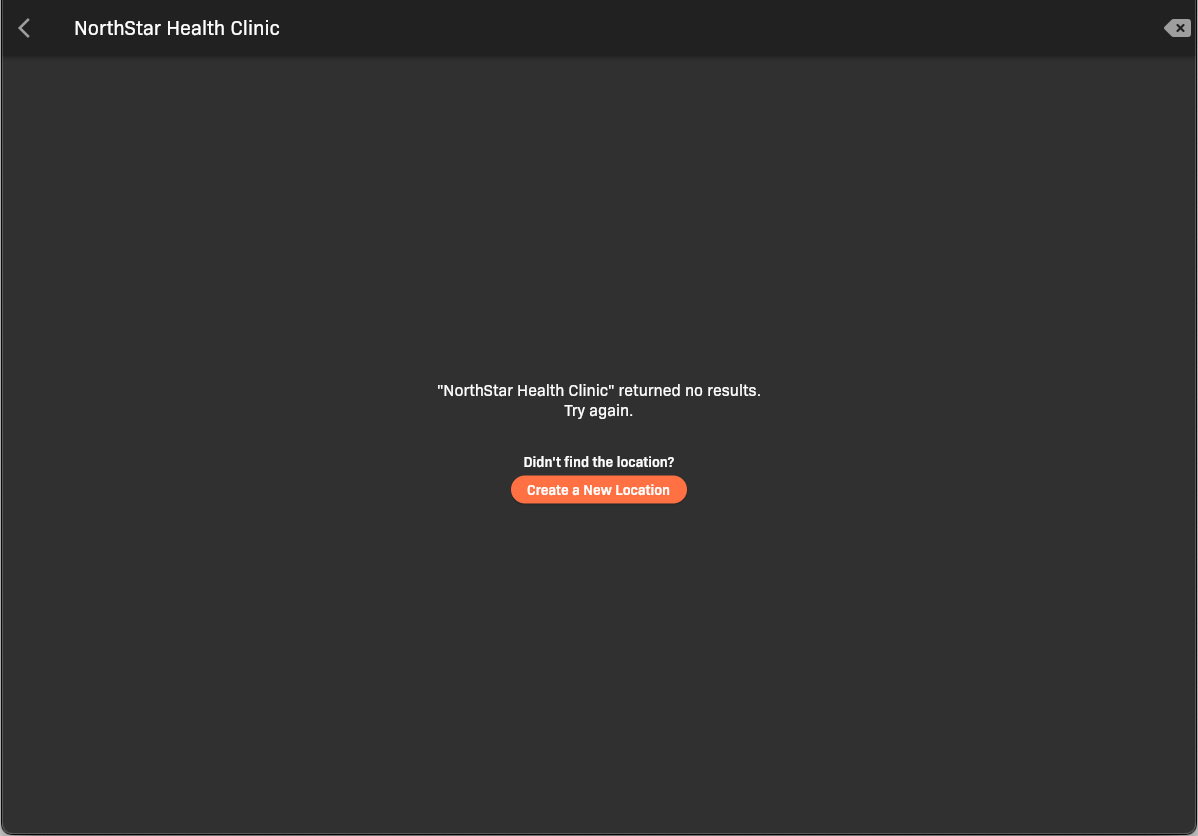
Location not found
-
Tap Create a New Location.
-
Complete the location details.
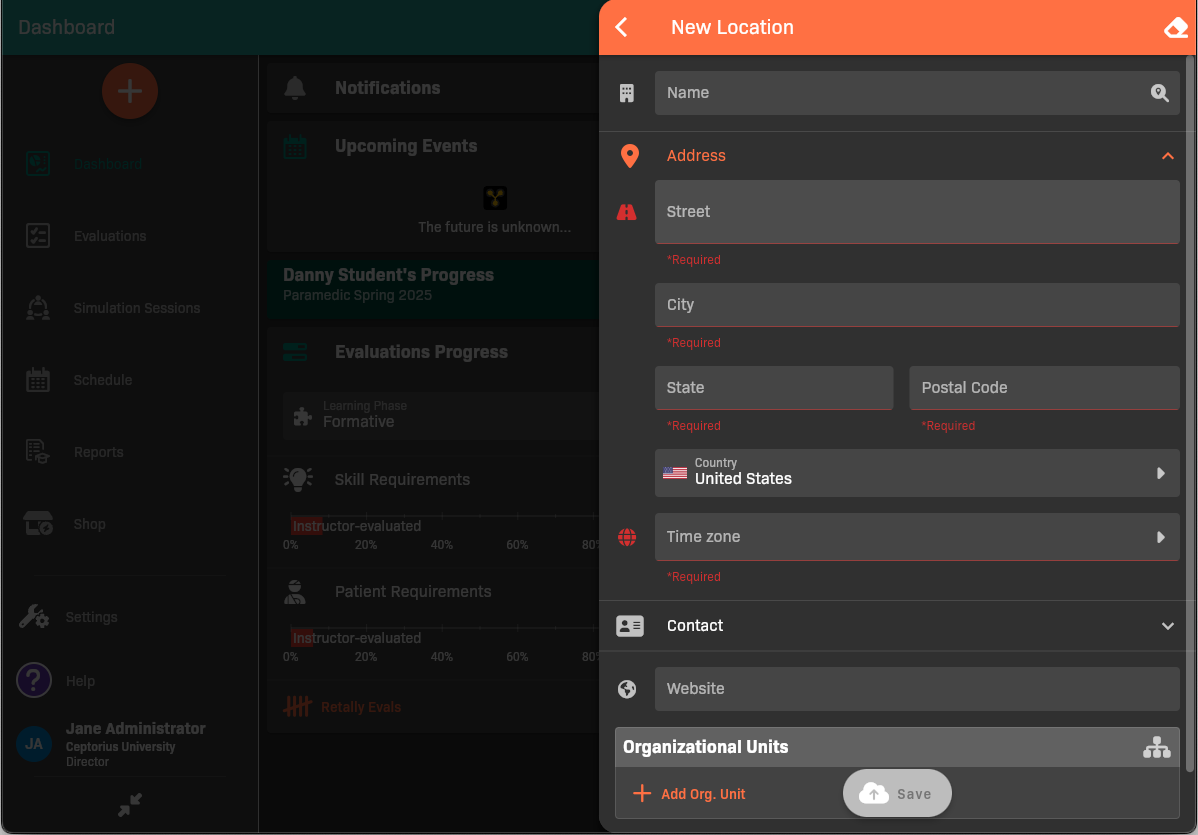
New Location
- Give the location a Name.
- Fill out the Address information for the location.
- (Optional) Add a Contact person and/or Website for the location.
- (Optional) If the location has multiple sites/campuses, add an Organizational Unit for each.
-
Tap Save.
Configuring schedule location options
Section titled “Configuring schedule location options”Configure options if you’d like to select common learning activities that take place there, restrict the location to schedulers, add a contact, add notes, or add documents.
- From the Schedule Locations page, tap next to the location.
- Select Options.
- Update the options as needed.
.png)
Schedule Location Options
- When you’re finished, tap the back button.
Updating a schedule location
Section titled “Updating a schedule location”Update a schedule location if you need to change its name, address, contact, website, or organizational units.
- From the Schedule Locations page, tap next to the location.
- Select Edit.
- Update the location as needed.
- When you’re finished, tap the back button.
Unapproving a schedule location
Section titled “Unapproving a schedule location”If you no longer want to allow events to take place at a location, you can unapprove it.
- From the Schedule Locations page, tap next to the location.
- Select Unapprove.
- Update the location as needed.
- When you’re finished, tap the back button.