
Scheduling an event
If you are scheduling for a clinical or field site, Create and share placement opportunities explains the Scheduling Partner workflow. The event controls below are the same.
Step 1: Start creating the event
Section titled “Step 1: Start creating the event”Tap the button, then select Event.
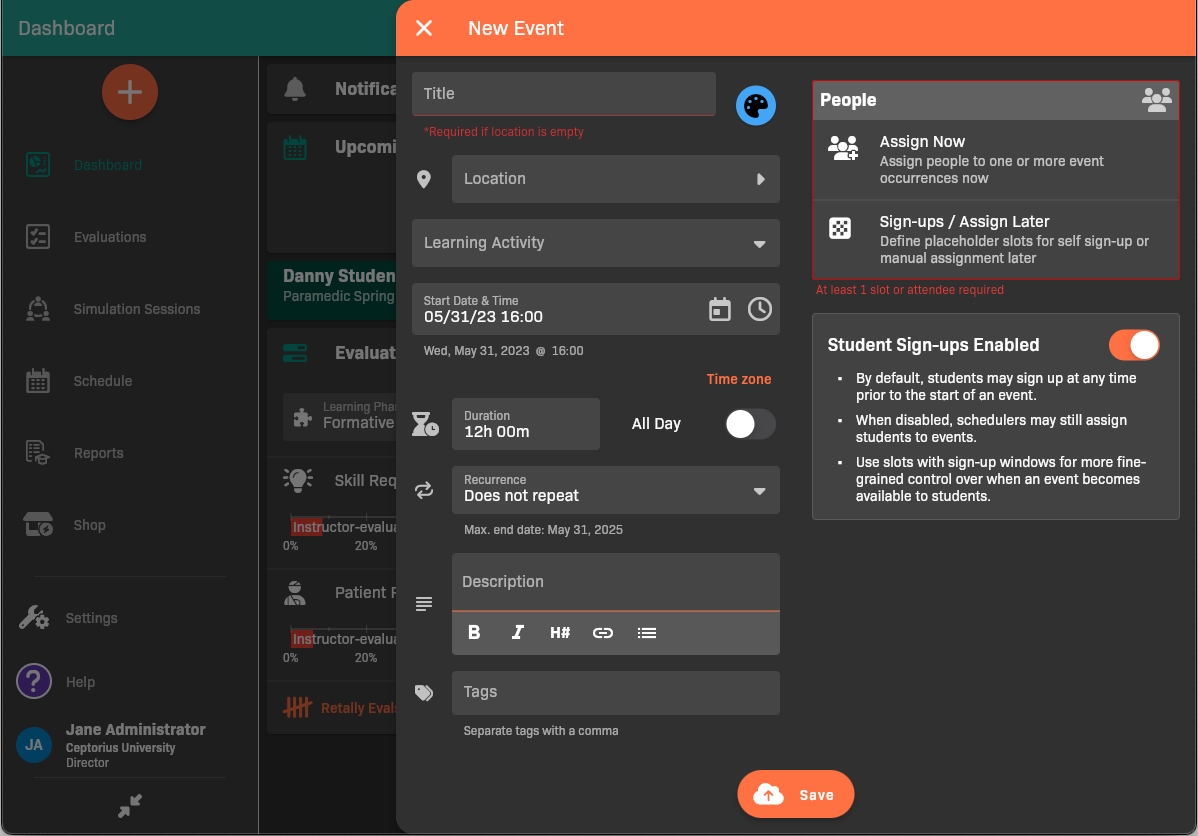
New Event
Step 2: Set up the event details
Section titled “Step 2: Set up the event details”Configure when and where the event takes place.
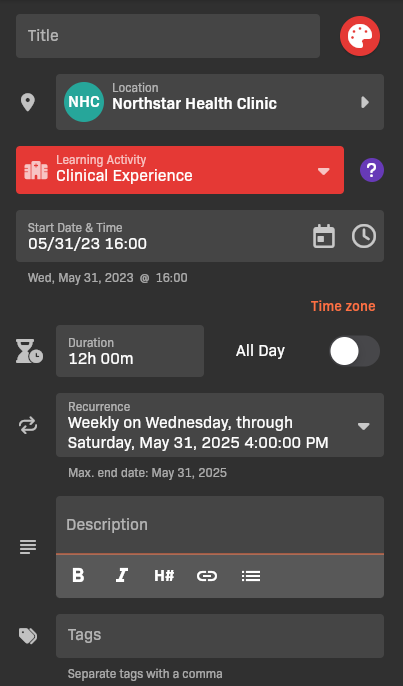
Event time and place
- (Optional) Enter a Title.
- Select the Location where the event will take place. f the location you need is not listed, you may need to_ add an approved location_.
- Confirm that Learning Activity captures the context for the event.
- Set the Start Date & Time.
- Set the Duration or enable All Day.
- (Optional) Set Recurrence to create a repeating schedule. Attendees and slots can be assigned to individual occurrences after the series is configured.
- (Optional) Enter a Description.
- (Optional) Add tags to aid in filtering on Schedule view.
Step 3: Assign people to the event
Section titled “Step 3: Assign people to the event”Perform these steps if you’d like to assign people to the event now. If not, skip to #step-4-add-placeholder-slots.
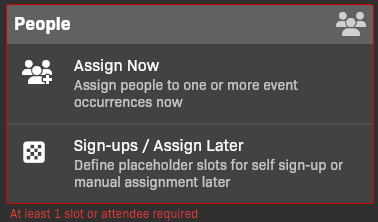
People widget
- In the People widget, tap Assign Now. he widget changes to Attendees mode.
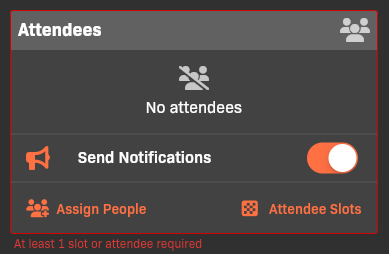
Attendees
- Tap Assign People.
- Tap Add Attendee, then select a Role.
- Select an Cohort and a Student.
- Tap add to add more people, or tap back to return to the event details.
Step 4: Add placeholder slots
Section titled “Step 4: Add placeholder slots”Add placeholder slots if you’d like to allow people to sign up for the event later. Any number of attendee slots can be configured for students, faculty, or preceptors. Once an event is created, slots allow people to sign up according to each slot’s criteria.
- Slots also enable events to be shared with other organizations.
- Slots may also be manually assigned to individuals per event or event instance (if recurring).
Add student slots
Section titled “Add student slots”Add slots for students to sign up for the event. If you do not select Certification Levels or Cohorts, those criteria do not limit the slots. Organization and org-unit restrictions, student scheduling permissions, and sign-up windows still apply.
Students must meet all criteria on the same slot. Their certification level comes from their cohort. A student who is eligible for one slot cannot use that eligibility to take a different slot—for example, an EMT student cannot take a Paramedic-only slot.
For organizations with multiple org units, a restriction to a specific unit excludes students in sibling units. Allowing an entire organization without limiting its units includes students from any unit in that organization, subject to the other slot criteria.
People widget
-
Tap Sign-ups / Assign Later, or if you assigned people in the previous step, tap Attendee Slots.
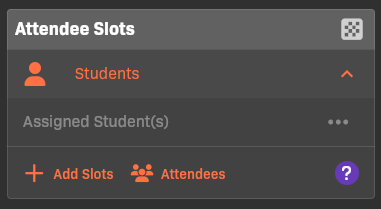
Attendee Slots
-
Tap Add Slots.
-
Set up the slot criteria.
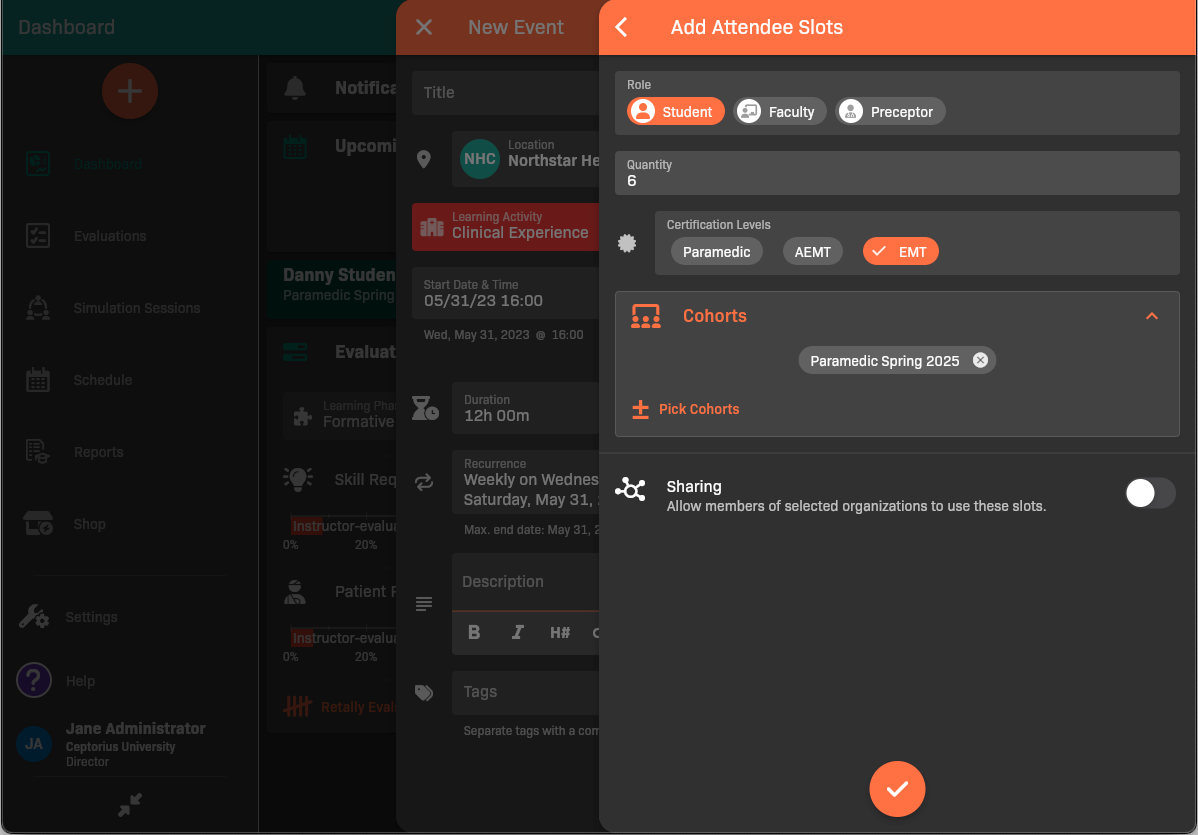
Add Attendee Slots - Student
- In Role, select Student.
- Set the Quantity of slots available.
- (Optional) Select the Certification Levels that are eligible for these slots.
- (Optional) Select specific Cohorts that are eligible for these slots.
- (Optional) Enable Sharing to allow students from other organizations to take these slots, then select one or more organizations.
-
Tap to save the slot configuration.
Add faculty or preceptor slots
Section titled “Add faculty or preceptor slots”Add slots for faculty or preceptors to sign up for the event.
People widget
-
Tap Sign-ups / Assign Later, or if you assigned people in the previous step, tap Attendee Slots.
Attendee Slots
-
Tap Add Slots.
-
Set up the slot criteria.
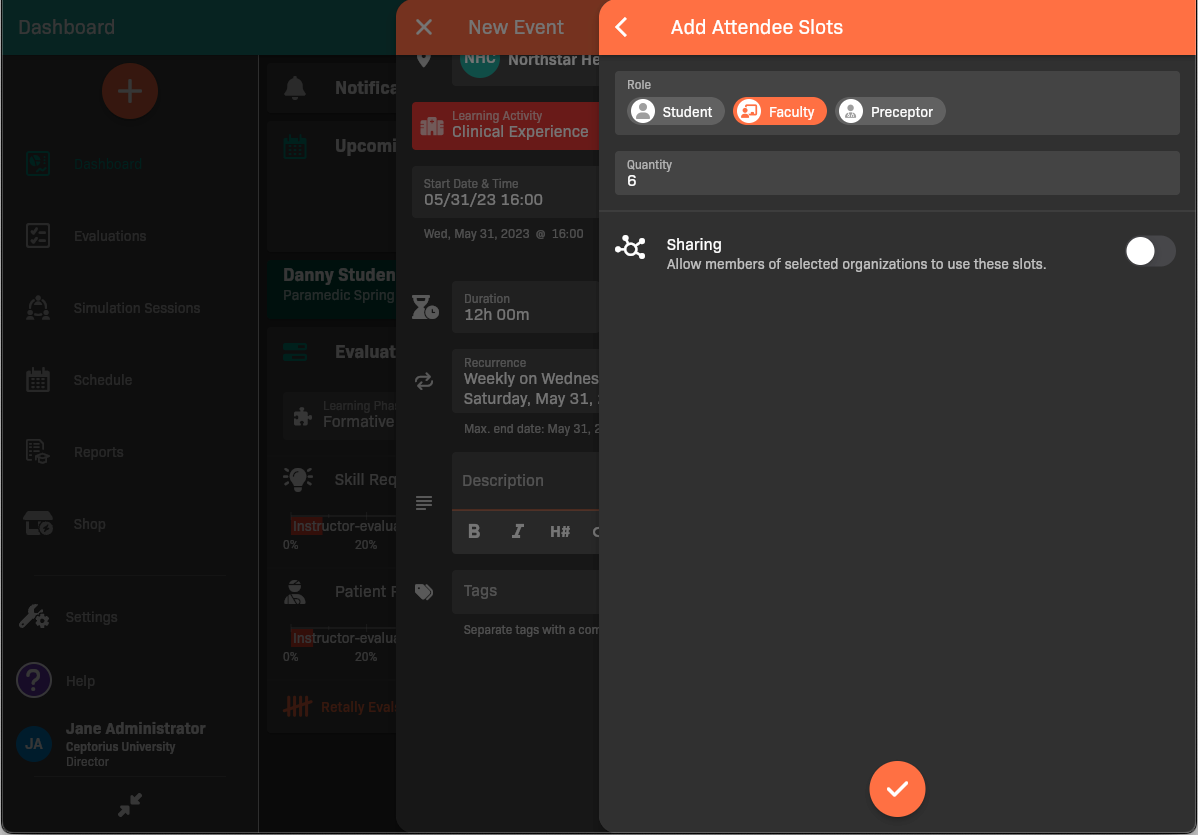
Add Attendee Slots - Faculty
- In Role, select Faculty or Preceptor.
- Set the Quantity of slots available.
- (Optional) Enable Sharing to allow people from other organizations to take these slots, then select one or more organizations.
-
Tap to save the slot configuration.
Step 5: Add Sign-up Windows
Section titled “Step 5: Add Sign-up Windows”Add Sign-up Windows to control when eligible students can take slots on the event. Student sign-ups must be enabled. If you do not add windows, eligible students can sign up before the event starts, subject to their graduation date and personal scheduling permissions.
When windows are configured, at least one window must be open and allow the student. The student must also satisfy the selected slot’s criteria: a window does not grant access to otherwise restricted slots. These rules apply both to Sign Up at the bottom of the event and to the buttons beside individual slots. Disabling student sign-ups blocks both options; faculty can still assign attendees.
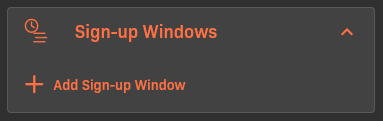
Sign-up Windows
-
Tap Add Sign-up Window.
-
Set when the window Opens.
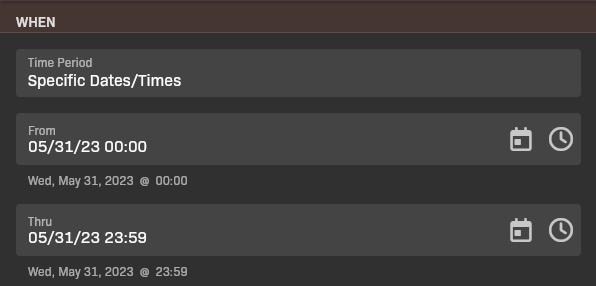
When the sign-up window occurs
-
Set when the window Closes.
-
Choose the date rule for each boundary:
- Specific to choose an exact date and time.
- Previous Month to open or close on a day in the month before the event.
- Rolling to open or close a number of days or weeks before the event.
Opens and Closes can use different rule types. For example, sign-ups can open on a specific date and close two weeks before the event starts.
-
Set Who is eligible for the sign-up window.
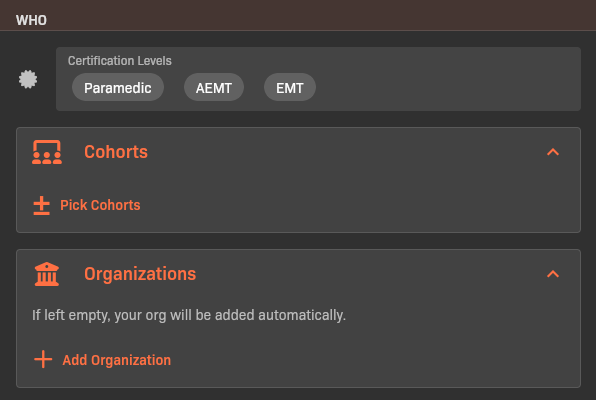
Who can use the sign-up window
- If you do not restrict who can use the window, all otherwise eligible students can use it while it is open.
- If desired, select a Certification Level, Cohort and/or Organization.
-
Tap to save the sign-up window configuration.
Step 6: Save your changes
Section titled “Step 6: Save your changes”If the event looks good, tap Save.